I have decided to rebuild the engine with forged pistons, so I went with the JE Pistons and rings. I have heard that the Total Seal rings don't work well with the 7M-GTE engine. I had David Ingram at Ingram Machine do my machine work. David does all my machine work and I have always been very pleased. Ingram Machine is a very precise machine work company that can make just about anything from custom gears to drive shafts and balancing. In the western North Carolina area, I would say they are the best. You can contact them by email at ingrammachine@msn.com or by phone (828) 254-3420.
Another thing you should do if you plan on having the block deck or the head milled is to go to "The Fit Is In The Finish", By Larry Carley (Google it) and read it thoroughly. It goes over the different surface finishes required for certain conditions on the engine and head, gasket, etc.
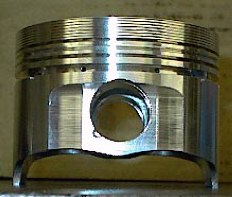
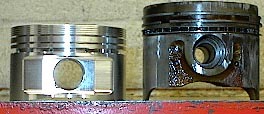
Wiseco Piston.
JE next to a stock piston.
JE/SRP - Piston Set of 6 - Turbo 7M-GTE 3.0L JE PART NUMBER 186241
Bore 3.287
Stroke 3.582
Rod Length 5.984
Dish Volume -18.5cc
Compression Height 1.299
CCs 40
Compression Ratio 8.4:1
Weight : 32 oz.
JE/SRP - Piston Ring Set of 6 - Turbo 7M-GTE 3.0L
Bore 3.287
Weight : 16 oz.
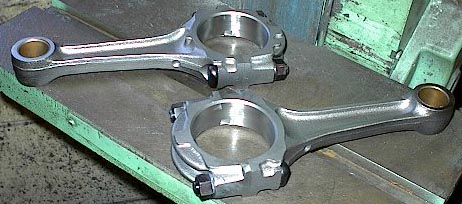
I had the stock connecting rods shot peened, polished, re-balanced and brought to specs on roundness.
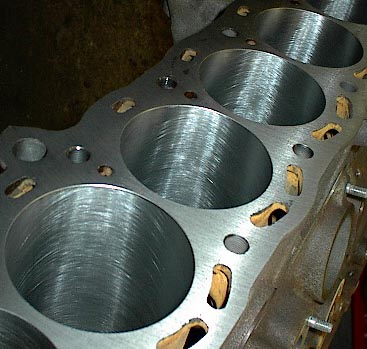
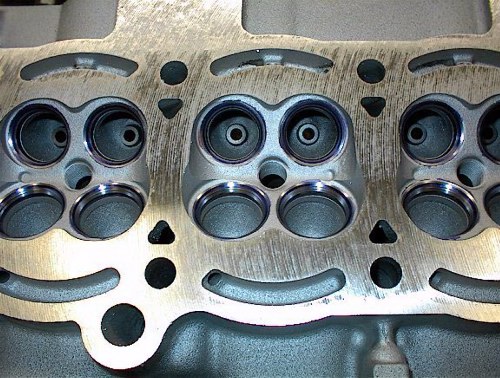
Cross hatch after twenty-thousandths overbore and resurfaced (ten-thousandths) block deck before lapping. Click here to see some pictures of my lapping job and some blown headgaskets due to an improperly prepared surface.
I also went ahead and had the head rebuilt. Again, another thing you should do if you plan on having the block deck or the head milled is to go to "The Fit Is In The Finish", By Larry Carley and read it thoroughly. It goes over the different surface finishes required for certain conditions on the engine and head, gasket, etc.The machine shop took ten-thousandths off the block deck and fifteen-thousandths off the head. This isn't enough of an increase in compression to be detrimental, so the stock head gasket thickness of 1.2mm was retained.
Here you can just see the three angles of the valve job. The picture don't show them very well, but they are outlined in red, purple and blue. The top angle is 45 degrees and the angle on the valve is 44.5 degrees so that there is a 1/2 degree difference making the edge the sealing surface rather than the flat surface of each which gives a better seal. You may also notice that this head has not been lapped yet! It is far too rough for a metal head gasket.
You should also adjust the valve clearances after the angle job. See Misc Info for information on how to adjust valve clearances.
During an engine rebuild, you should replace the oil pump, get new rod bolts and main studs, and all bearings, seals and gaskets. I used ARP rod bolts, main studs, and head bolts. The part numbers for these items from Summit Racing are: ARP-203-6004 (Rod bolts) $41.99 and ARP-203-5402 (Main stud kit) $91.99. The part number for the 190,000 psi Pro head bolts is 203-3902 and I think they are about $80.00 or so. If you want studs instead of bolts, the part number for them is 203-4202. Then you can top it all off with a fresh coat of paint.
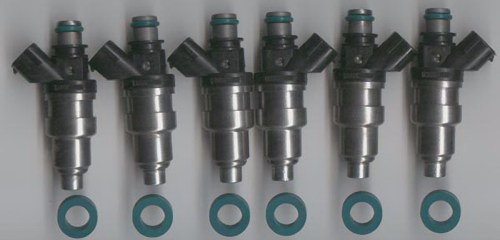
Another important thing to do at this time was to have the injectors cleaned. I sent mine to Fuel Injector Clinic, Inc. (954) 421-7003. They rebuilt my injectors for $20.00 each. They look like new injectors now. They sent all the old parts back and before and after flow test results. They also came with all new "O" rings, seals, filter screens and pintle caps. They even send you all the old parts back.
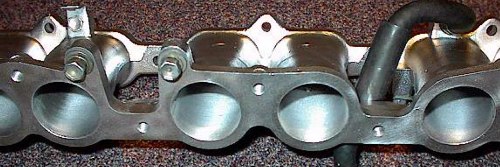
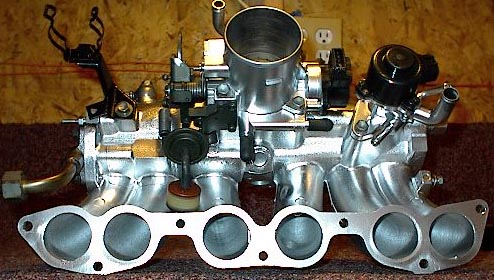
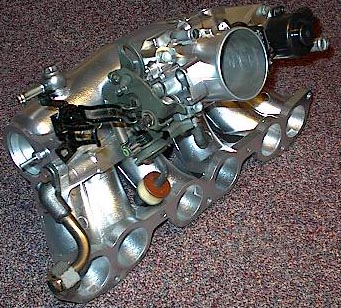
Here you can see the port clean up job a little on the lower intake manifold section.
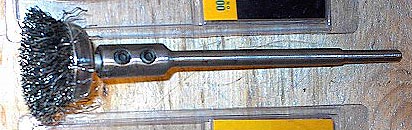
While I had the opportunity, I cleaned everything up and applied a 2000 degree high heat coating from ThermoTech. Also, I had the machine shop clean the intake and then I did a mild port clean up job with a stiff wire wheel brush and an extension so I could reach all the way through. Against the aluminum, this proved to be a very effective method.
UPDATE: After a while, the ThermoTech high heat coating just rubs off and leaves everything looking terrible. I would NOT recommend this stuff for anything but exhaust manifolds.
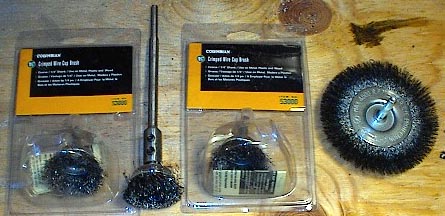
Tools I used from Home Depot for the port clean up job.
Drill bit extension (needed to reach all the way through the intake holes).
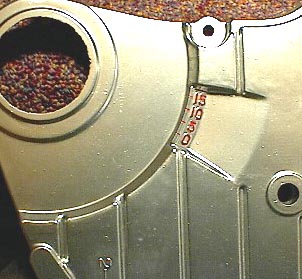
Exhaust manifold and heat shields are coated as well as the lower timing belt cover along with newly painted red timing marks and numbers. I also painted all the other timing marks.
For God so loved the world, that he gave his only begotten Son, that whosoever believeth in him should not perish, but have everlasting life.
John 3:16
This site was built and is maintained by John B. Lunsford.
If you experience any difficulties or have any site specific questions or comments, please email me at Webmaster.
Please direct all other email to John@JBLMk3.com.